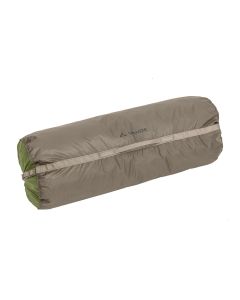
What makes VAUDE tents and sleeping mats easier to repair?
The tent is sagging, the sleeping pad is losing air: this is the stuff trekking and camping nightmares are made of. If you have to struggle through complicated repair instructions and need all kinds of special tools, you're in a real mess.
To avoid such disasters, we at VAUDE have equipped our tents and sleeping mats with a few features that make repairs a lot easier. And remember: every repaired product means that one less product has to be produced and purchased. So repairing is good for your bank account and the climate.
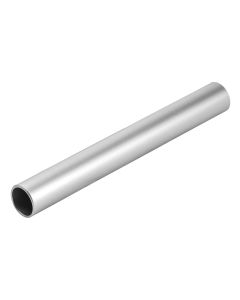
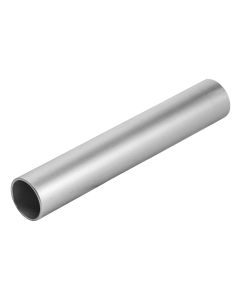
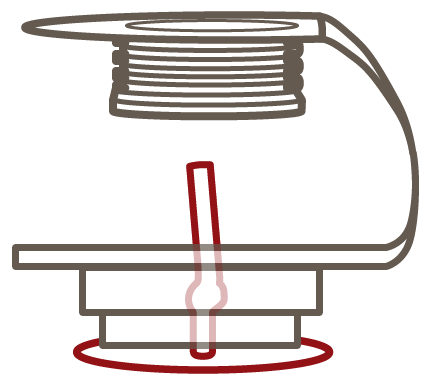
Repairing the pole clip and connecting piece on VAUDE tents
Replace the pole clip without cutting the strap
On some VAUDE tents,the pole clip can be easily replaced without cutting the webbing.
The connecting piece works in the same way. The spare part for both cases is available from our repair workshop.
General care instructions, on how to clean and store your tent in our blog post.


Repair kit for VAUDE sleeping mats: What's inside and how to use it
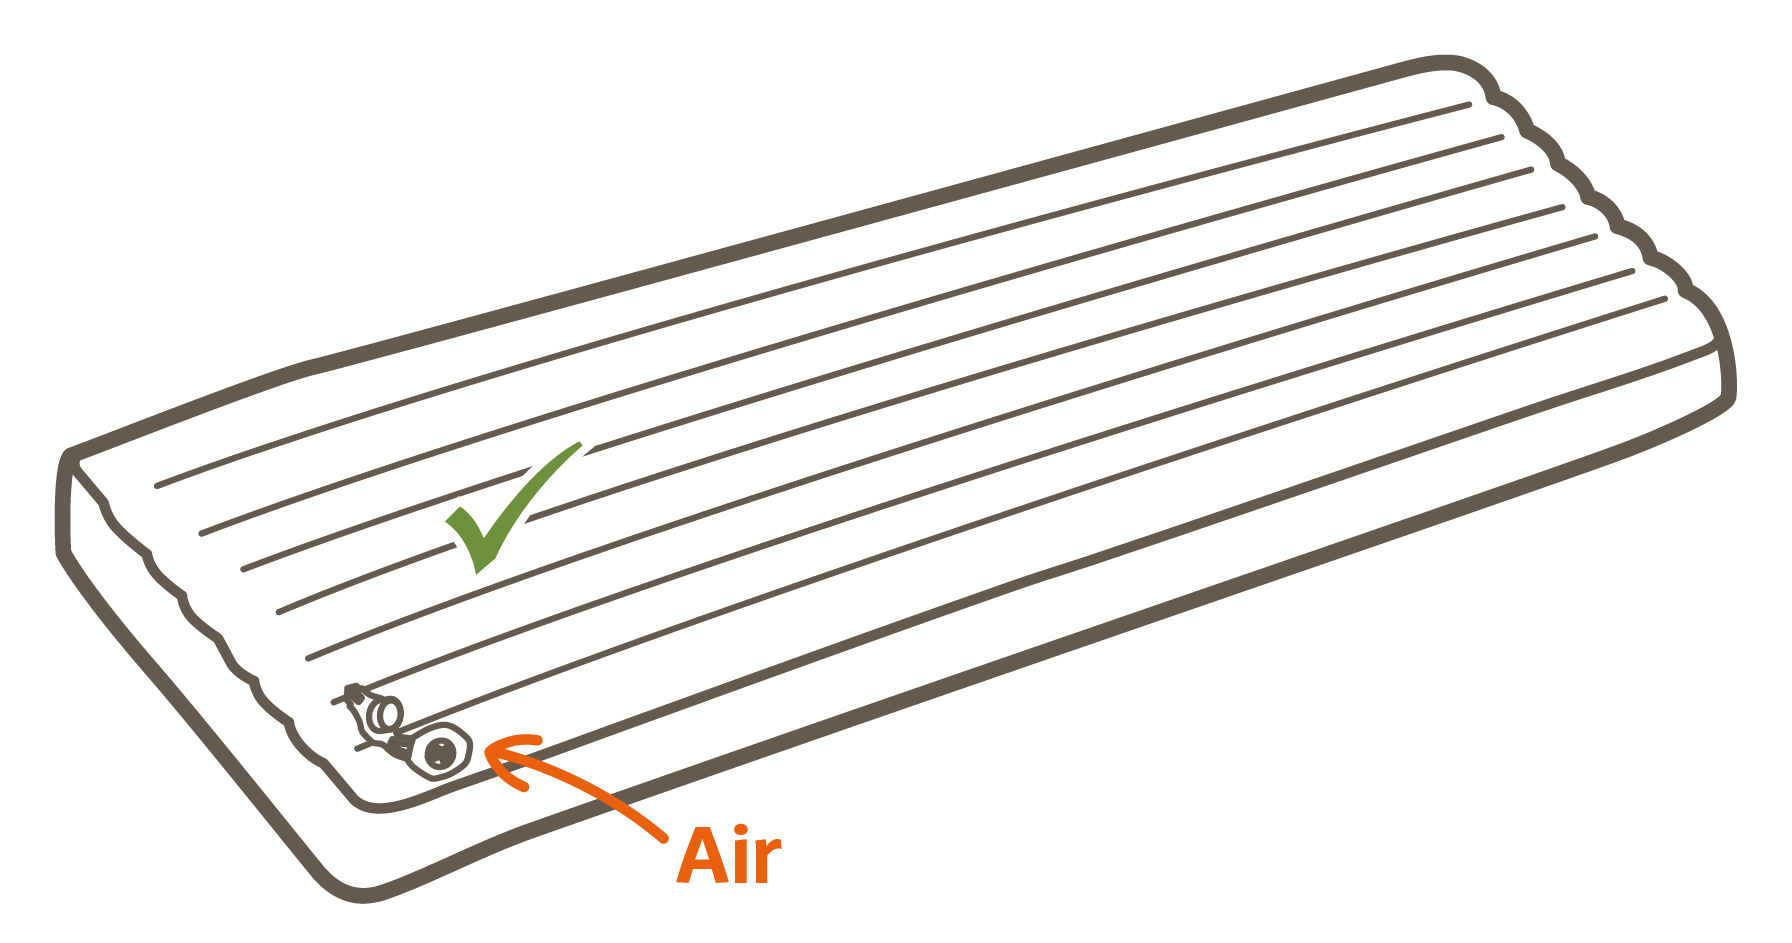
Before you can repair your sleeping pad properly, you need to store it correctly: it's best to keep your sleeping pad unrolled, with the valve open and dry. If you fill the sleeping pad with air, use a pump bag. This will prevent moisture from the air you breathe from getting inside the sleeping pad.


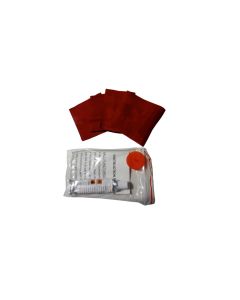

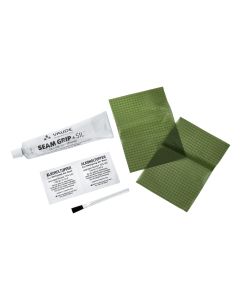
All VAUDE sleeping pads come with a repair kit. This contains repair patches, glue and a replacement valve lip.
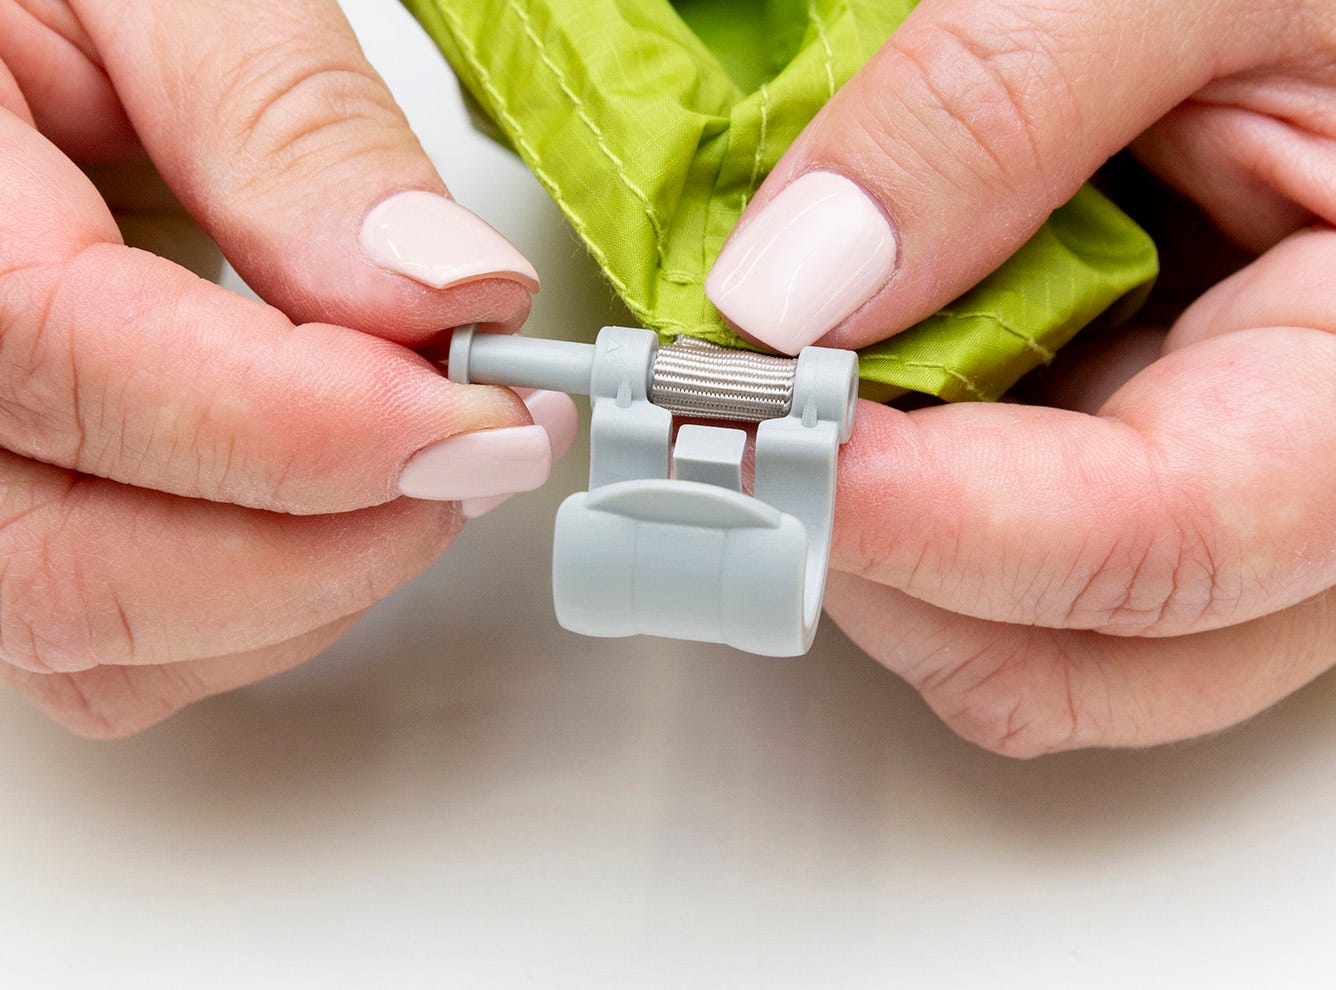
Replacing the valve lip on sleeping pads
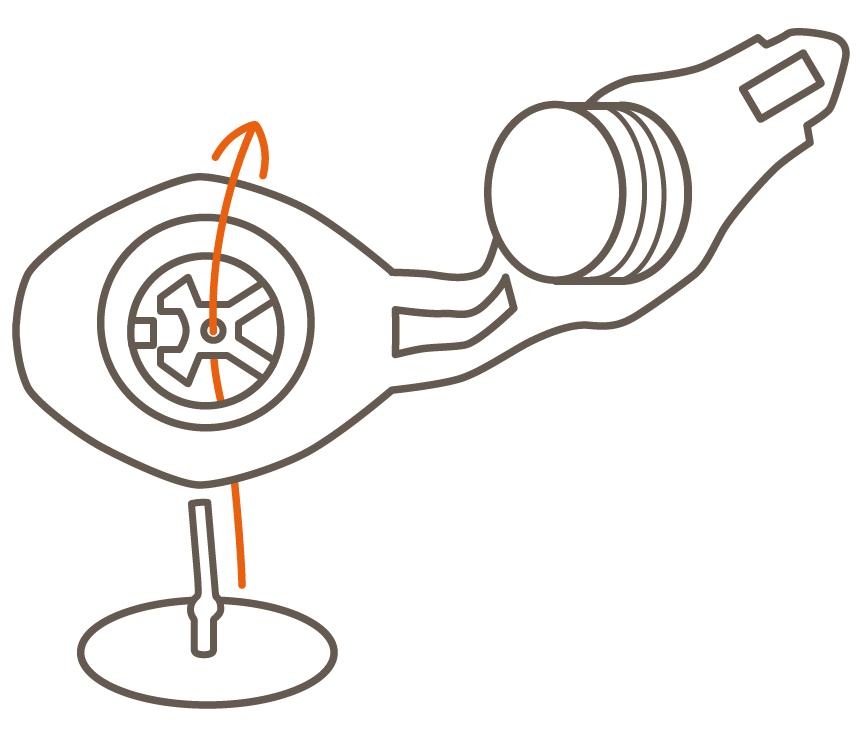
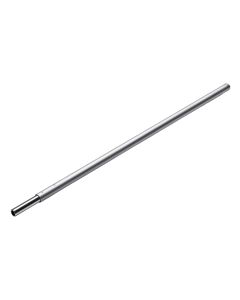
1. Insert the vertical part of the
silicone lip through the hole in the valve bar. You can use pliers to help pull it until the thickening is over the bridge.

2. The edge of the silicone lip should no longer be visible.
3. If necessary, the vertical part can be shortened slightly after fitting.
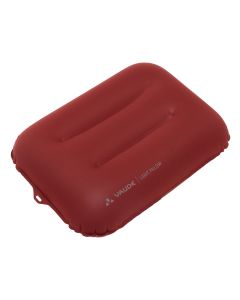
Storing and inflating VAUDE sleeping mats correctly
René writes a nice text here. Include this note: Do not inflate with your mouth, use a pump bag/pillow! store unrolled, with the valve open and dry.
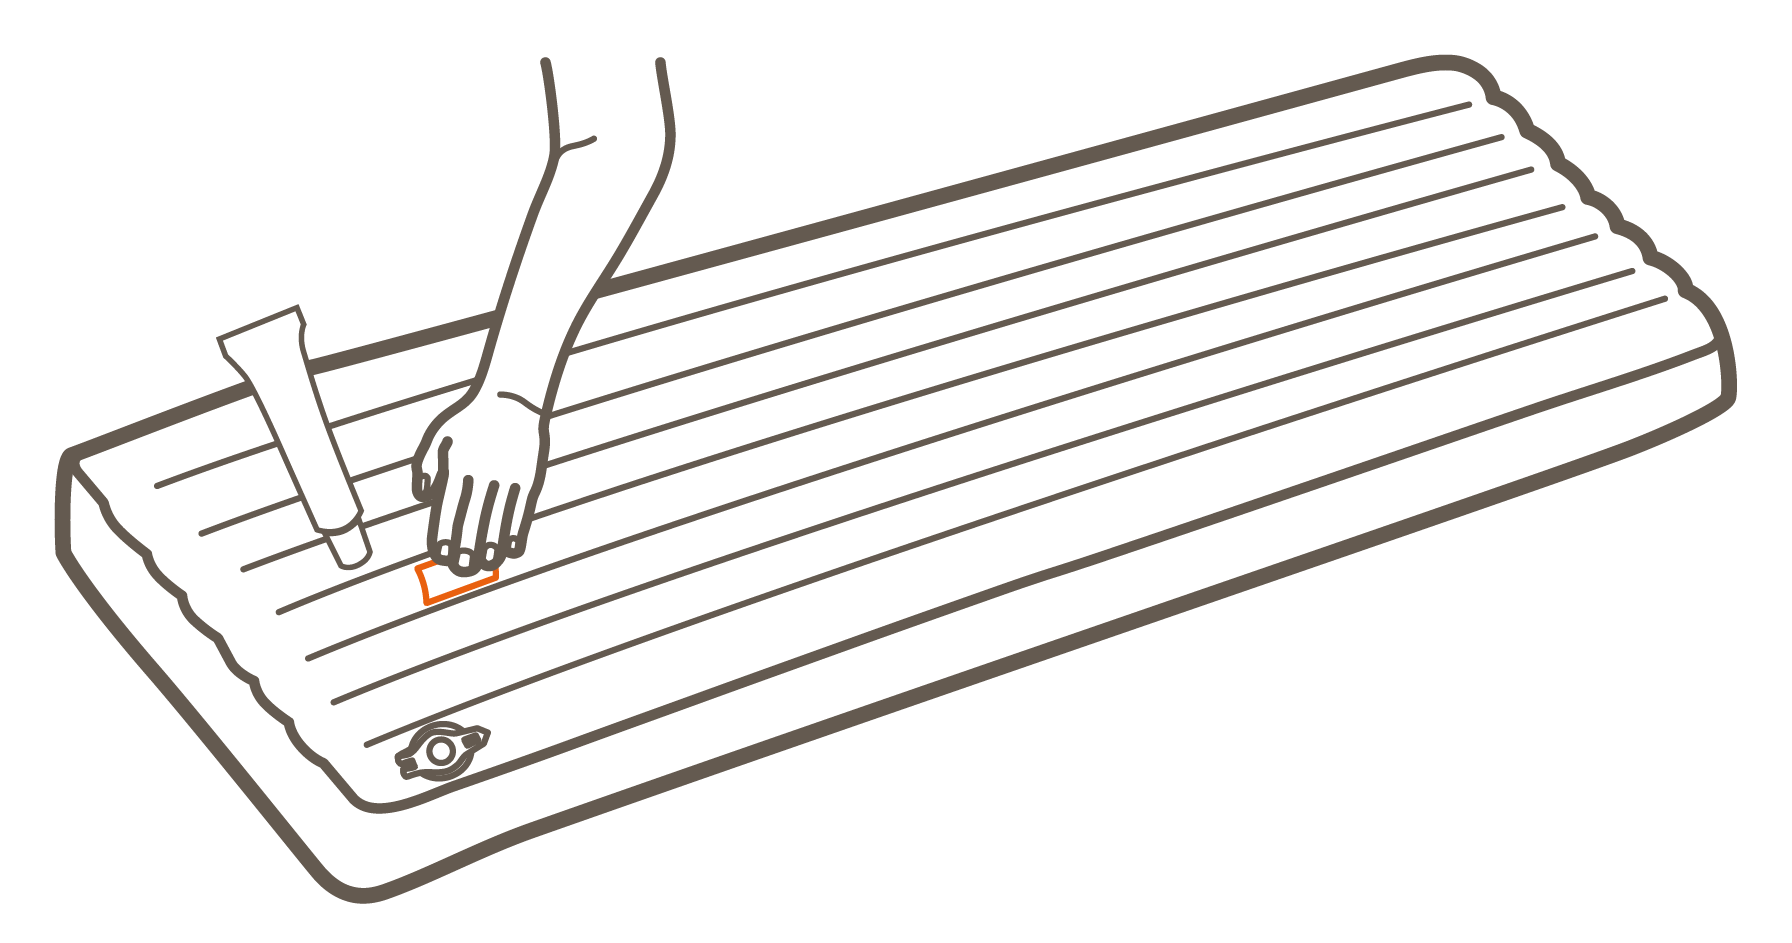
How to repair your sleeping pad
To locate small holes, cuts or tears, inflate the mattress and close the valve.

Spread the soapy water to moisten the mattress surface. Small bubbles will appear in the damaged area.
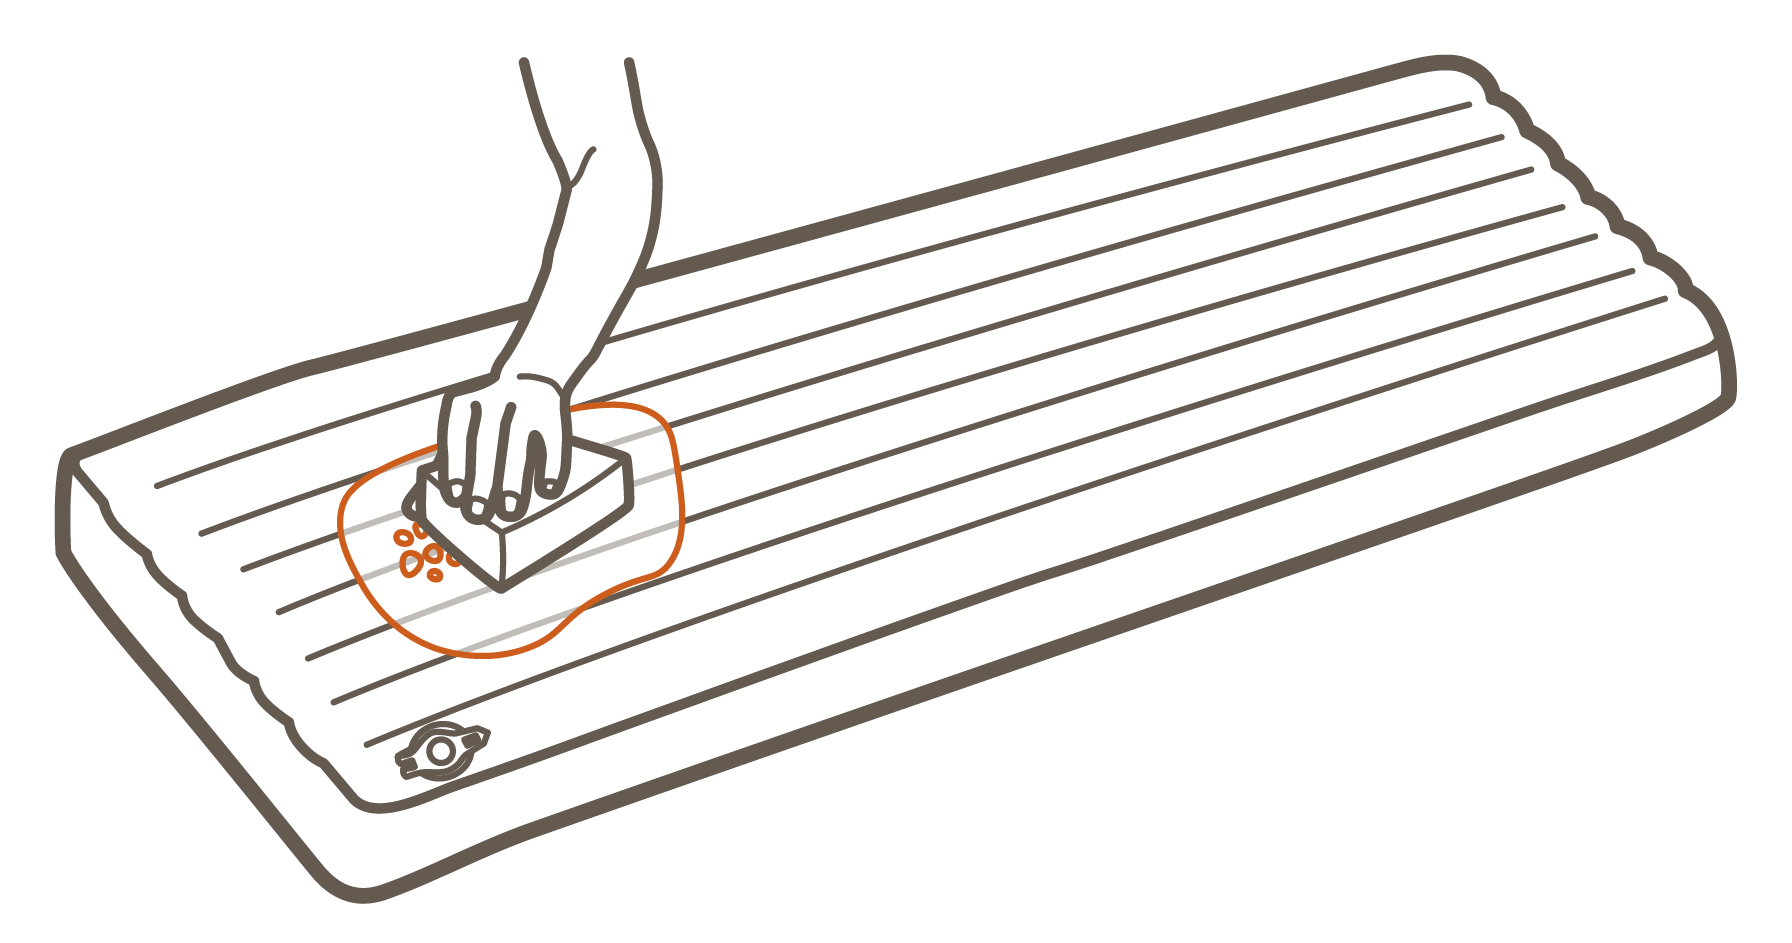
Clean and mark the damaged area and allow the mattress to dry again.
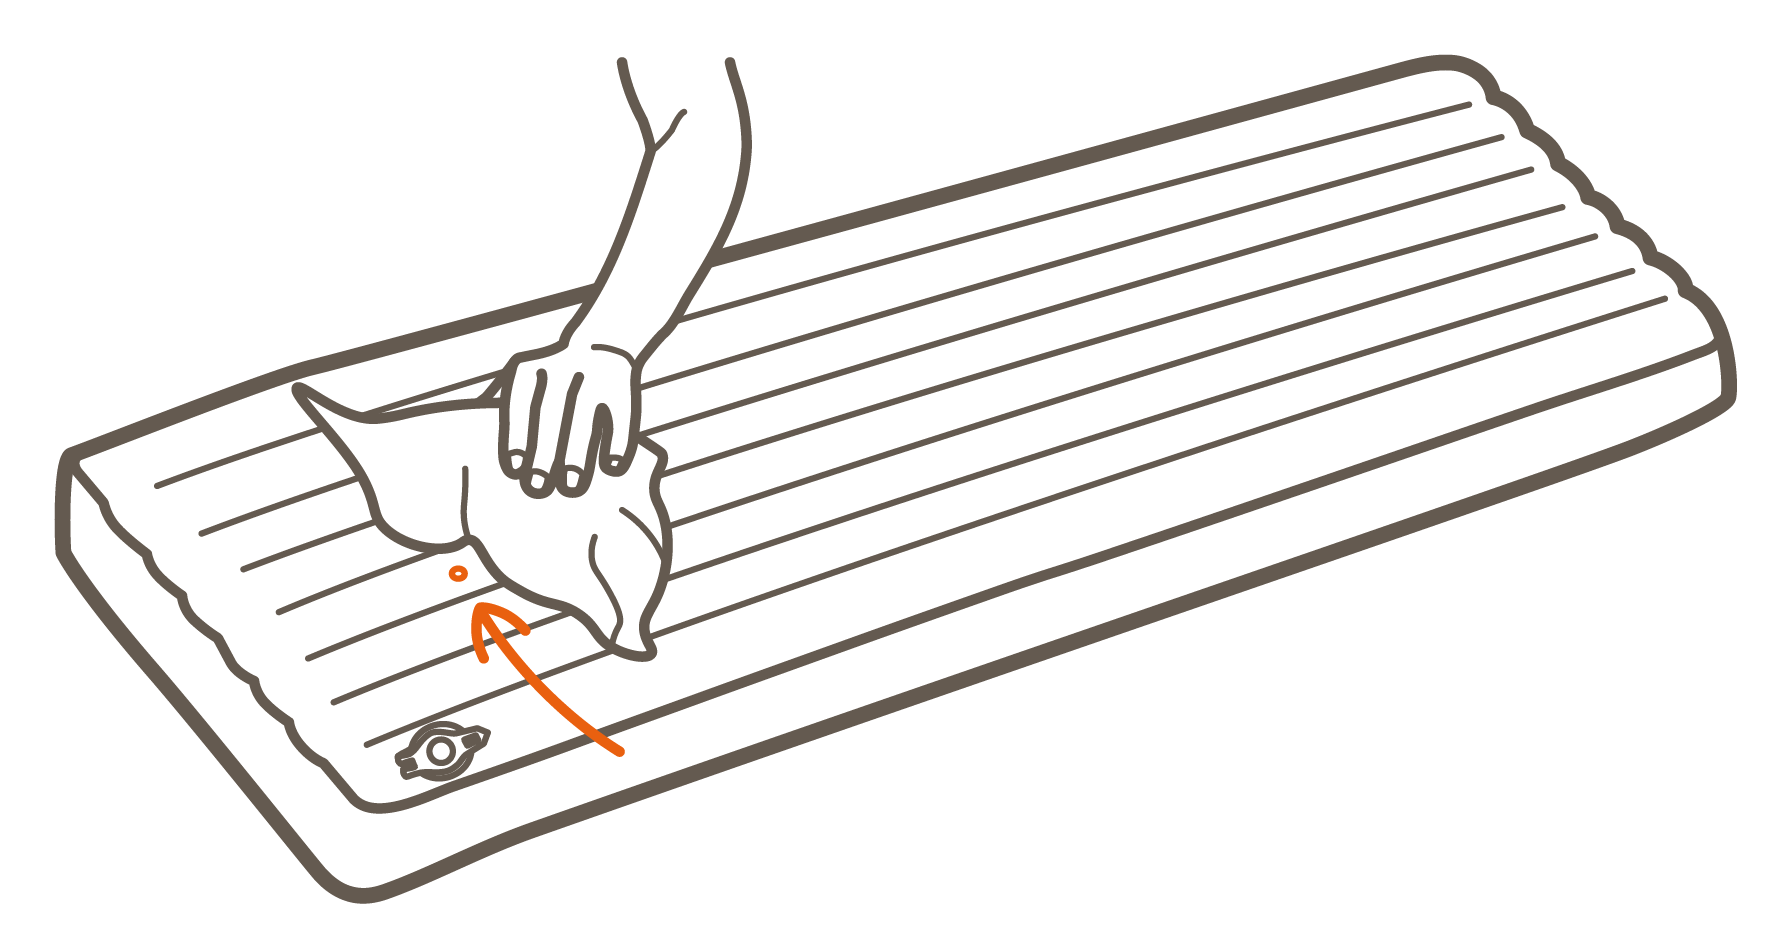
For quick repairs on the go:
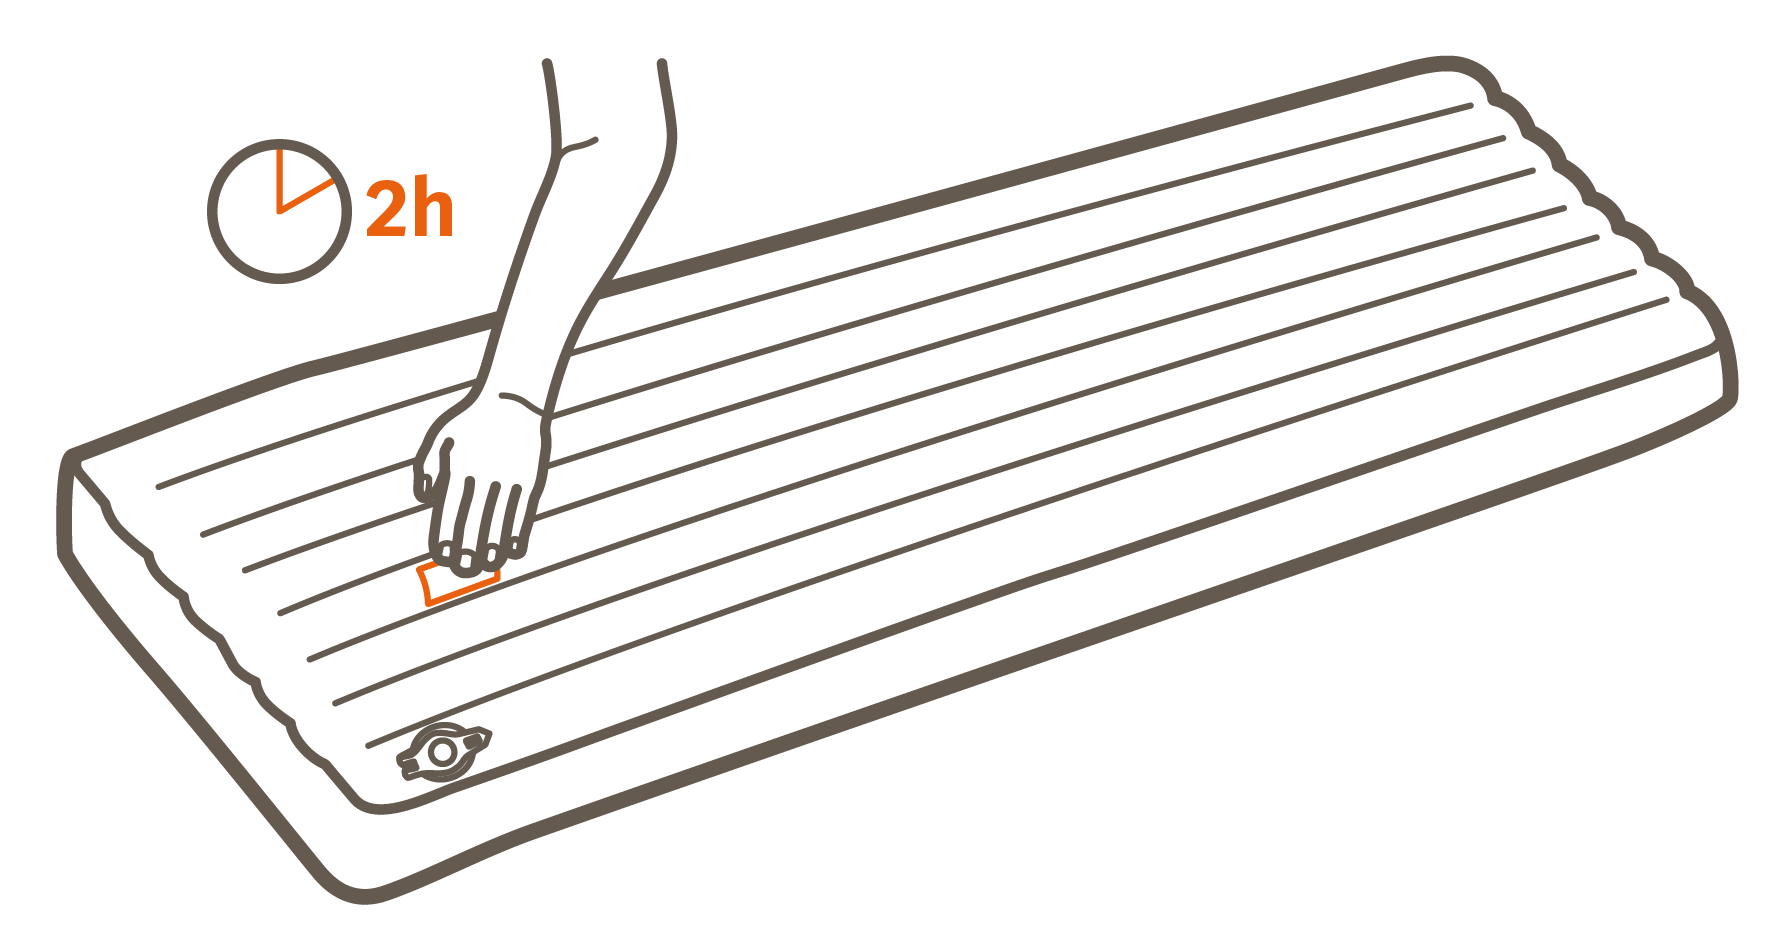
Open the valve and let the air out. Then stick the self-adhesive repair patch (at least 1 - 2 cm larger all round than the damaged area) onto the marked area without creases and press firmly. In the Performance series, the patch is transparent. The final strength of the adhesive is reached after 2 hours.
For quick repairs on the go:
Open the valve and let the air out. Then stick the transparent and self-adhesive repair patch (at least 1 - 2 cm larger all round than the defective area) onto the marked area without creases and press firmly. The final strength of the adhesive is reached after 2 hours.
Permanent solution
EN: Open the valve and let the air out. Apply the liquid adhesive generously on and around the crack or hole. After 2 hours, when the adhesive has dried slightly, apply the adhesive to the fabric patch
(fabric patch at least 1-2 cm larger all round than the defective area). Press the patch firmly and crease-free onto the tear or hole. If necessary, weigh down with cling film as a separating layer and leave to dry overnight.
Pump up the mattress and check whether the repair has been successful. The mat can be used immediately. The final strength of the adhesive is reached after two hours.